Field notes · Hugging Face SO-101 · LeRobot
My first robot arm: Robotics 101 with the SO-101
In a few evenings I took an SO-101 robot arm kit from a box of parts to an arm that dances, reacts to a thumbs-up, and pushes a tomato into a hole. This post walks through the steps in plain terms, for anyone new to robotics.
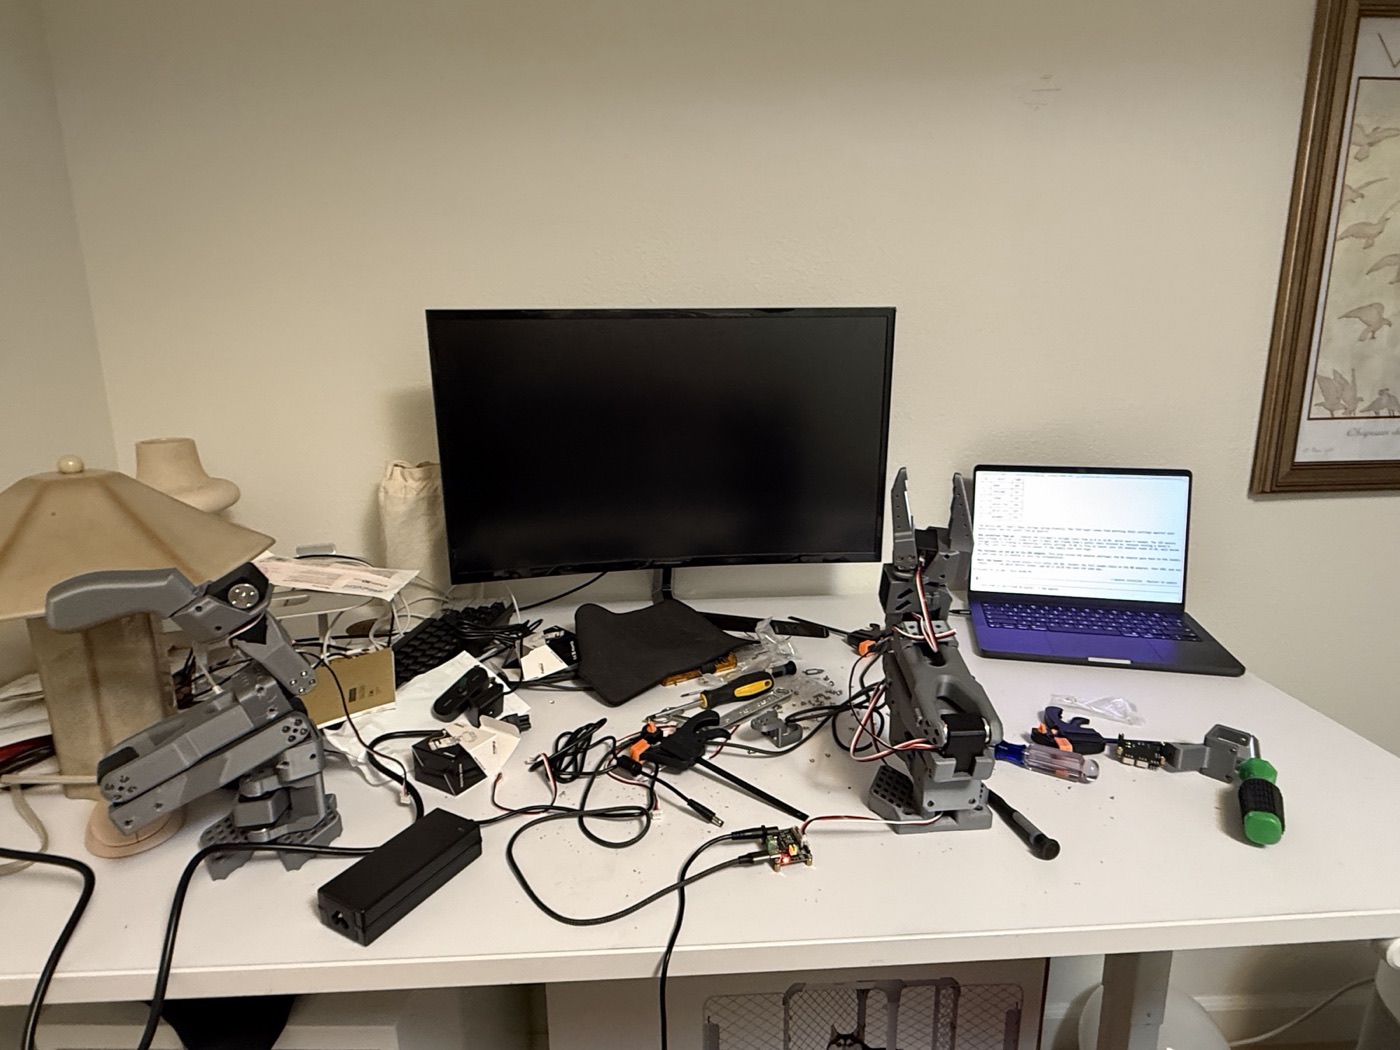
Robotics 101: the parts
The SO-101 is an open-source, 3D-printed arm from Hugging Face’s LeRobot project. It comes as a pair.
| Part | What it is |
|---|---|
| Follower arm | The robot that does the work. Six motors: base, shoulder, elbow, wrist flex, wrist roll, gripper. |
| Leader arm | A copy you move by hand. The follower mirrors it, which is how you control the robot live. |
| Servo | A motor that knows its own position and can hold any angle you send it. |
| Motor ID | Each servo’s address on a shared cable, 1 to 6, so the computer can talk to one at a time. |
| Controller board | Connects the servo cable to your laptop by USB. |
| Calibration | Teaching the software where each joint’s middle and limits are. |
Setup in four steps
- Install the software. LeRobot needs Python 3.12 or newer. My old Intel-build Anaconda couldn’t install it on an Apple Silicon Mac, so I made a fresh native environment with
uv. - Give every motor its ID. All servos ship with ID 1, so on a shared cable their replies collide and the arm looks dead. You connect one motor at a time and assign 1 to 6, base to gripper. Do this before assembly.
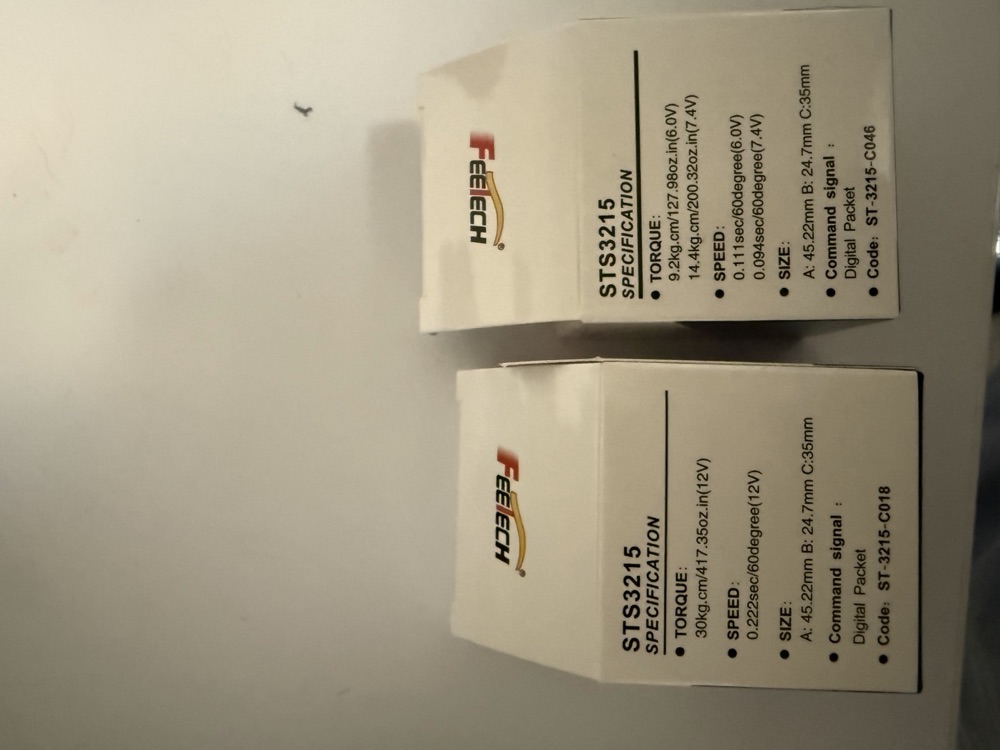
- Put the right motors in the right arm. In the 12V kit the motors are not all the same. The follower gets six 12V servos; the leader gets 7.4V servos with different gear ratios. I’d mixed them, which showed up as an “Input voltage error”. Matching each motor’s stored settings to the box labels found the three misplaced pairs, and I swapped them.
- Calibrate. You set each joint to its middle, then sweep it end to end. Two traps: a joint with a loose screw doesn’t turn its motor, and a joint you don’t sweep fully gets a short limit.
Kinesthetic teaching
Kinesthetic teaching means showing the robot a task by moving it with your own hands. I switched the follower’s motors off, guided it through the motion, and a script recorded every joint about 27 times a second. Then the arm played the recording back by itself.
- Motors off: the arm goes limp so you can move it freely.
- Demonstrate: guide it slowly through the task while the joint angles are recorded.
- Replay: motors on, and the arm repeats the recorded angles at the same timing.
It’s simple and needs no AI, but the arm repeats exactly one motion. It doesn’t see the object, so the object has to be in the same place every time.
My task was pushing a tomato into the cable hole in my desk. It took six recordings. The first three missed because the elbow stopped short: my calibration had only swept it halfway, so the servo refused to go further on replay. After recalibrating, the winner was one short, smooth push with the tomato always on the same mark, because a replay can’t adapt to a moved tomato.
Pre-scripted dance
A pre-scripted motion is written in code instead of shown by hand. I listed a few poses for the arm to hit, such as arm up, sway left, sway right and nod, and a script moved it between them.
- Define the poses: each one is a target angle for all six joints, set relative to the middle of each joint’s calibrated range.
- Move smoothly between them: the script sends small steps 50 times a second, easing in and out so the arm doesn’t jerk.
- Stay safe: every target is kept inside the calibrated limits, the script stops if the shoulder or elbow strains, and it ends at rest with the motors off.
Compared with kinesthetic teaching, nobody has to demonstrate anything and every run is identical. But it’s still blind: the arm follows the script whatever is in front of it.
Giving it eyes: inference with a ready-made model
The one real AI model in the project is a camera trigger: give a thumbs-up and the arm grips three times. I didn’t film this one, but in a 90-second test it reacted to all six of my thumbs-ups.
This is inference: running a model someone else already trained. Google’s MediaPipe gesture recognizer reads each camera frame on the laptop’s CPU, about 30 frames a second, and labels the hand gesture. My code fires the grip after three thumbs-up frames in a row, then waits for the hand to drop before counting again.
The same idea scales up. Swap the gesture model for a vision-language model that looks at the table and decides what to pick up, and you have a robot that follows spoken instructions, still without training anything yourself.
What I’d tell a beginner
- Sort the motors before you build. Read the code on each servo box and put each one in the right arm and joint.
- Set motor IDs before assembly, one motor at a time.
- Tighten every joint screw. A loose one lets the joint move without its motor noticing.
- Sweep every joint fully when calibrating. The range you show becomes a hard limit.
- Record slow, smooth demonstrations. The replay copies every wobble.
- Know which you’re doing: replaying a recording, running a trained model, or training one. They need very different things.